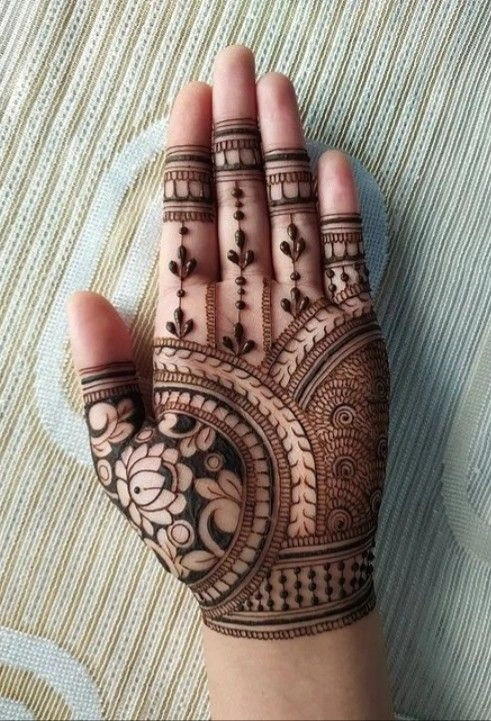
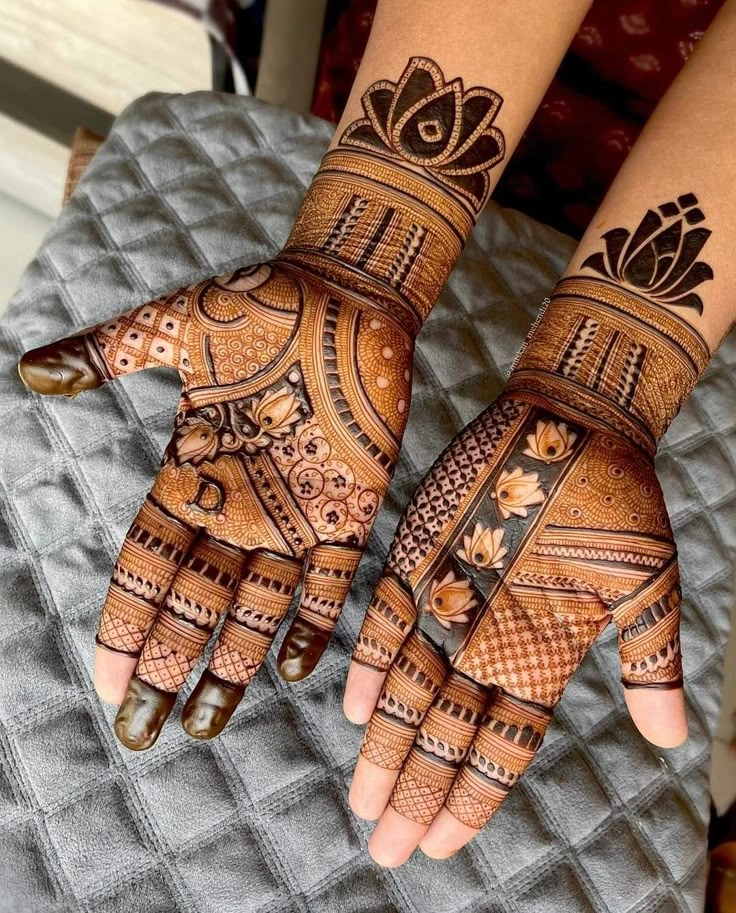
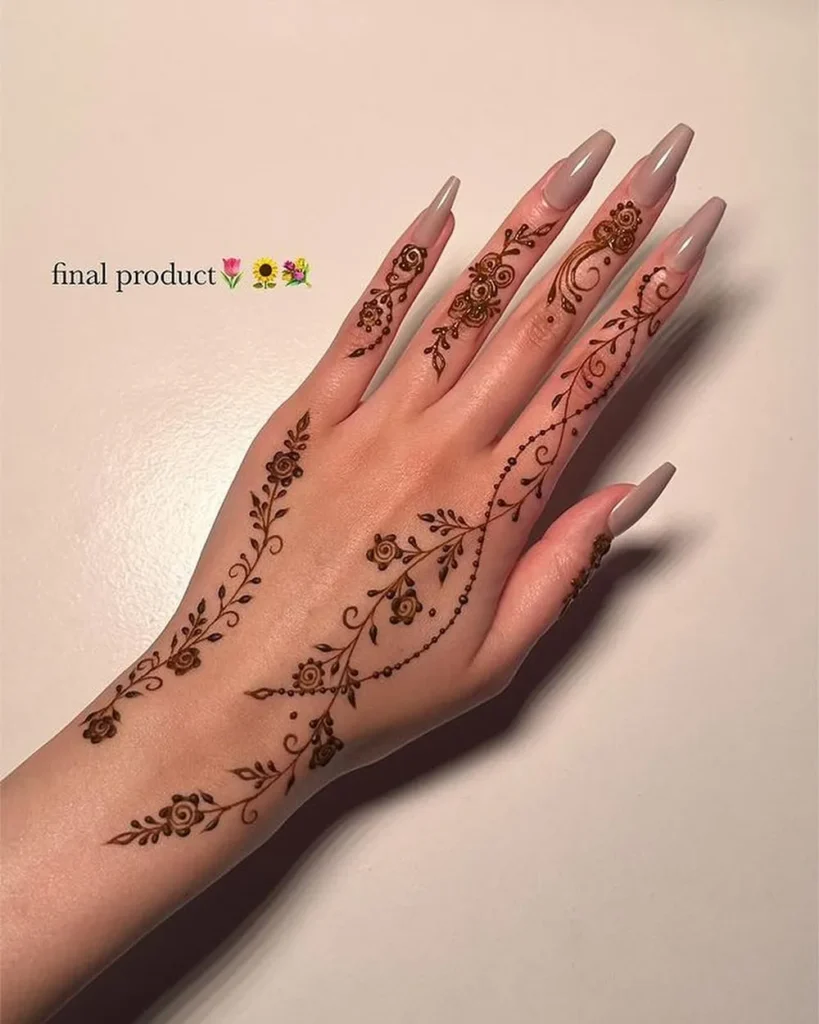
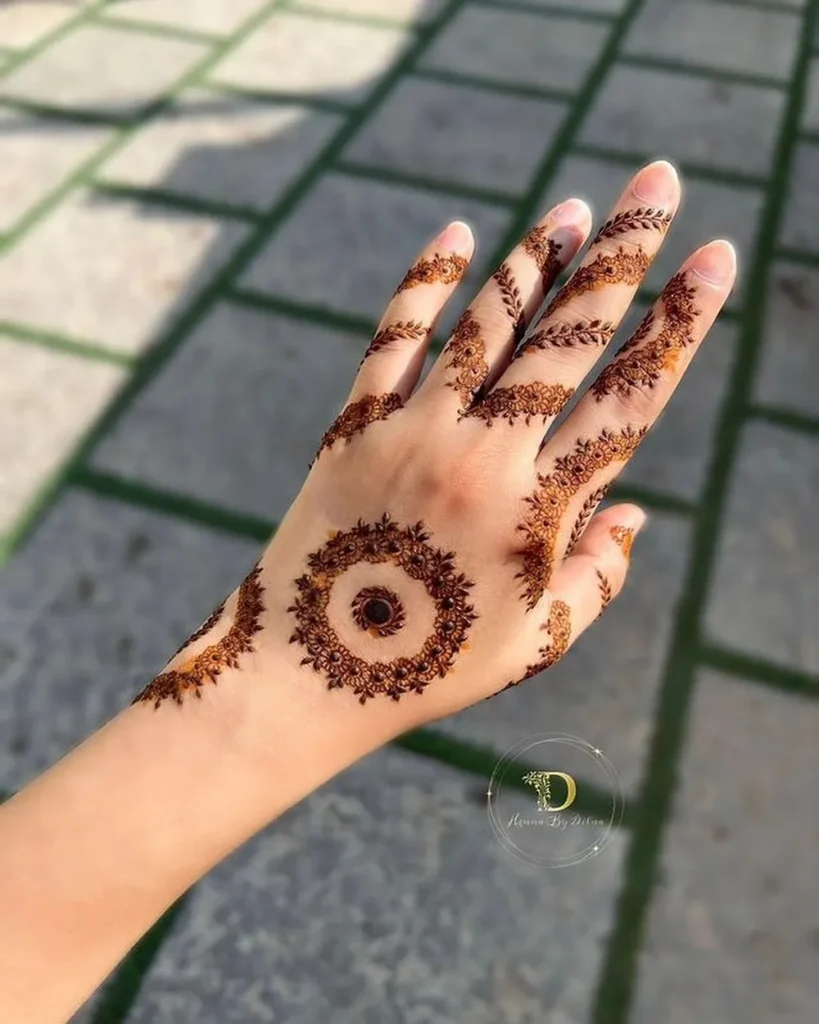
DIY & Creative Tutorials for Mehndi Designs in Hindi

अपनी रचनात्मकता को उजागर करें
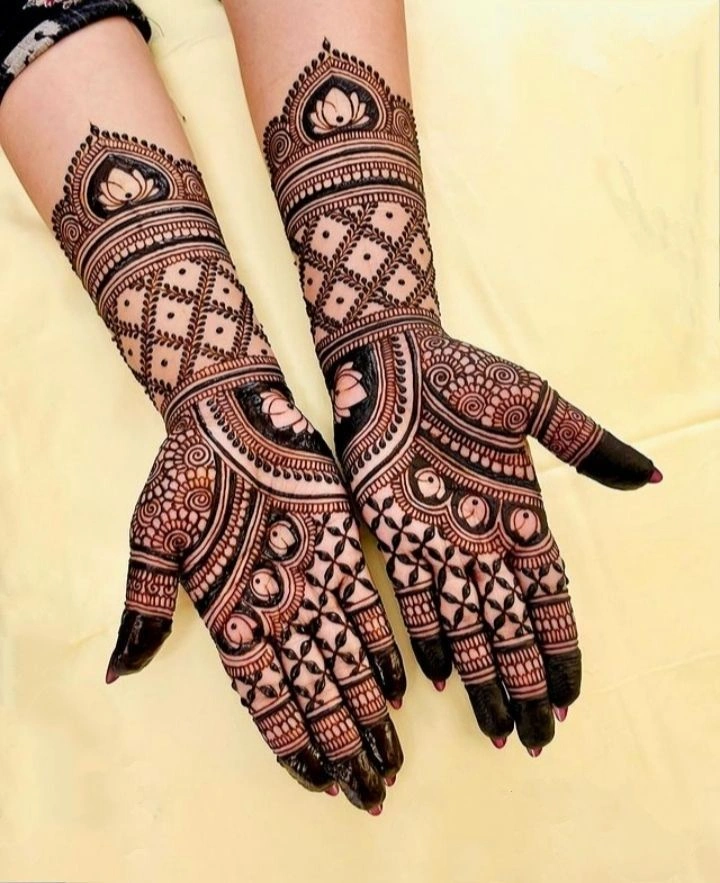
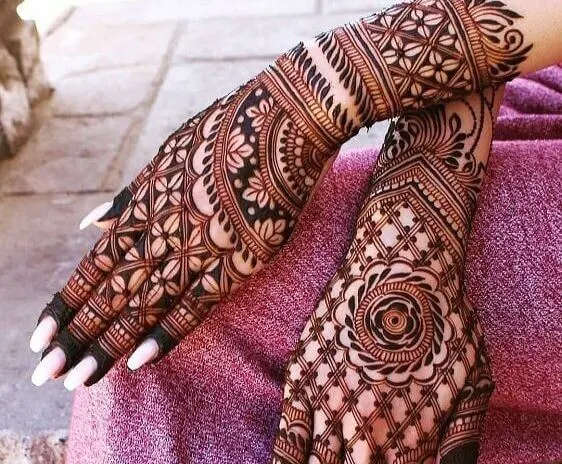
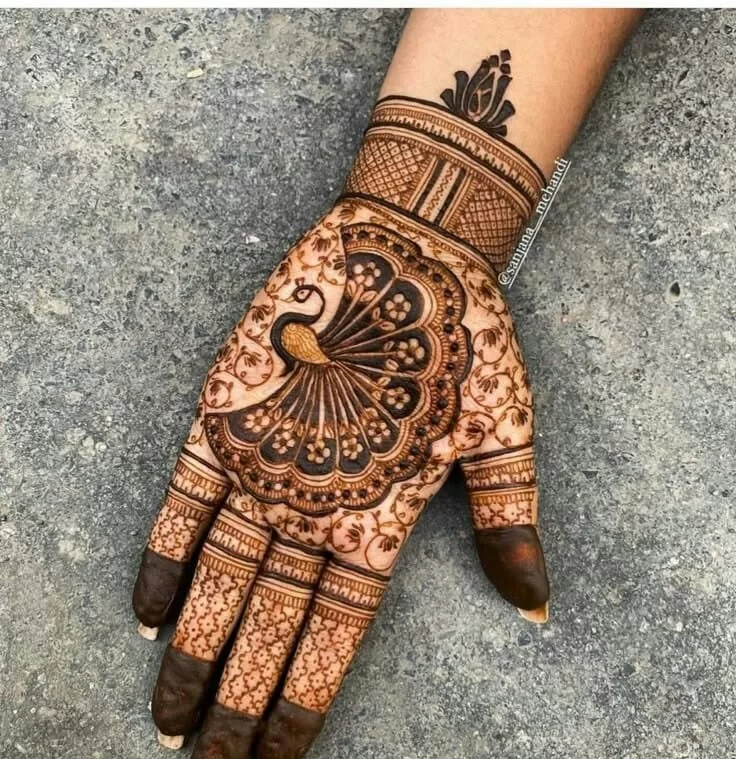
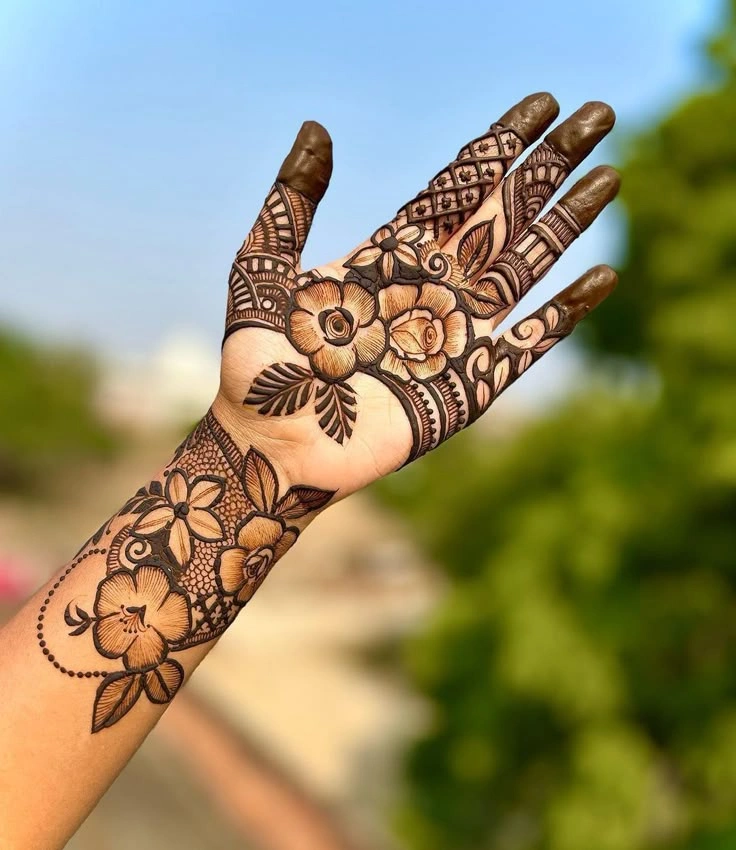
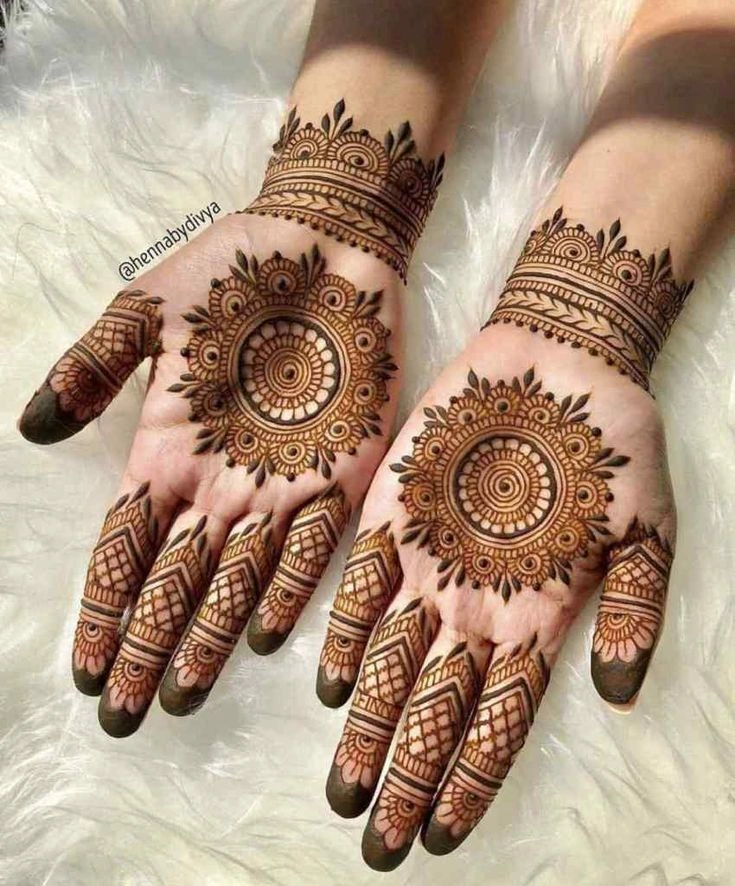
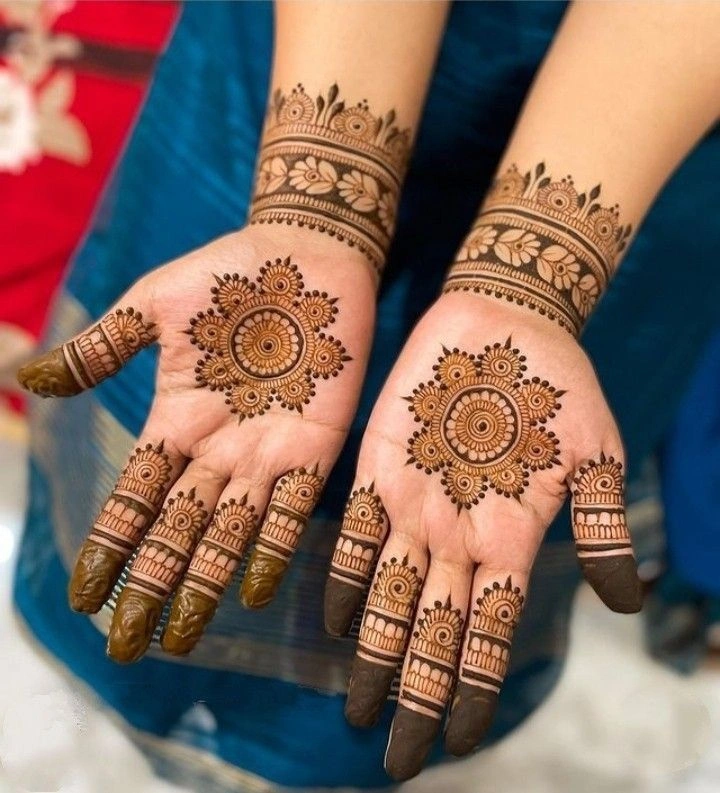
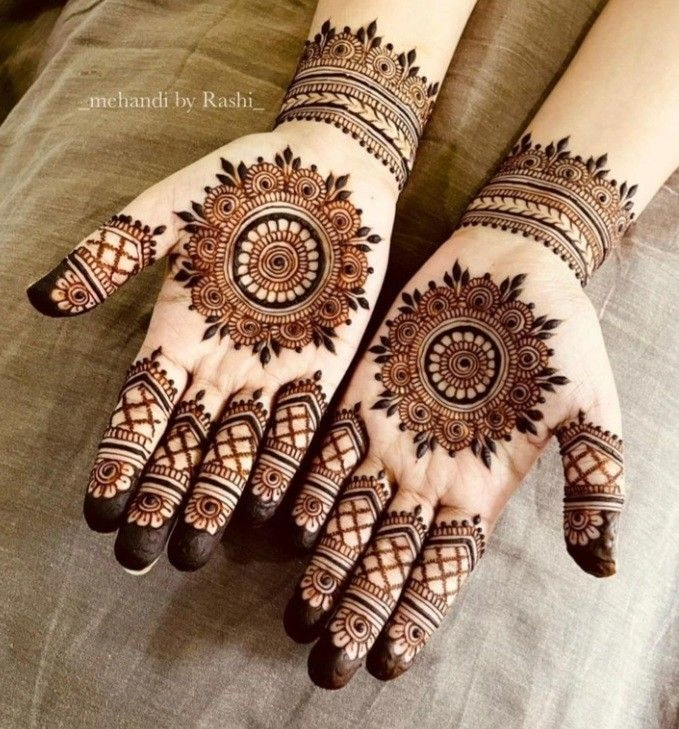
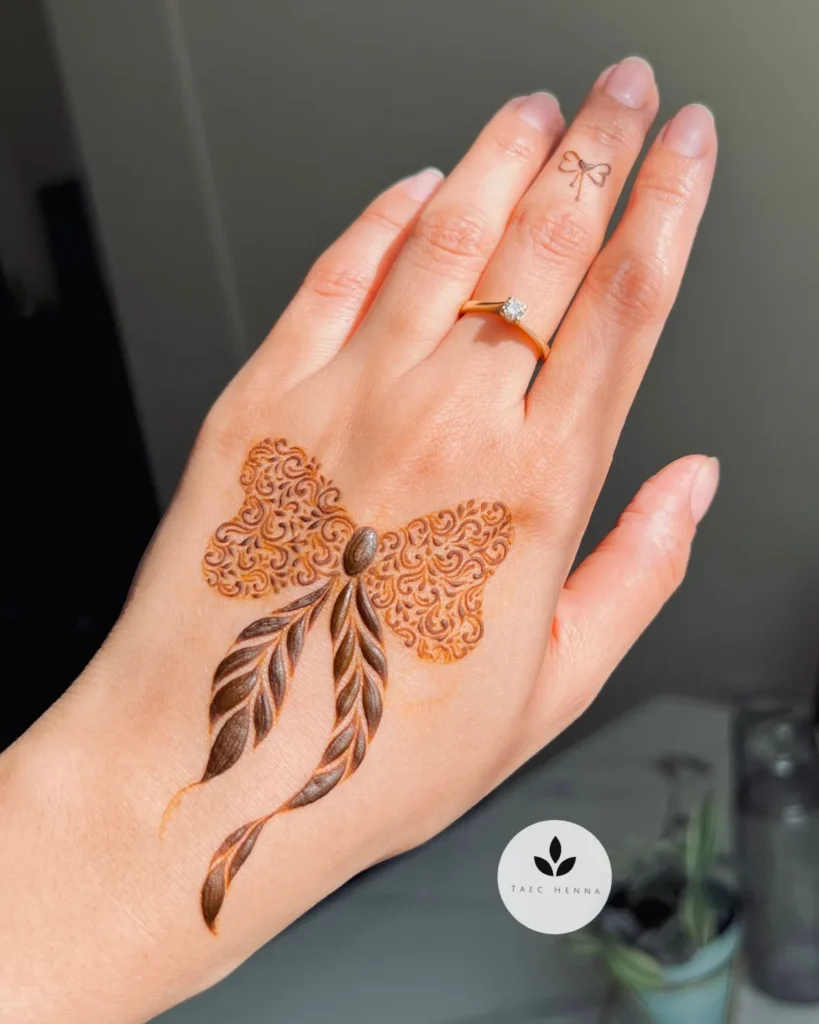
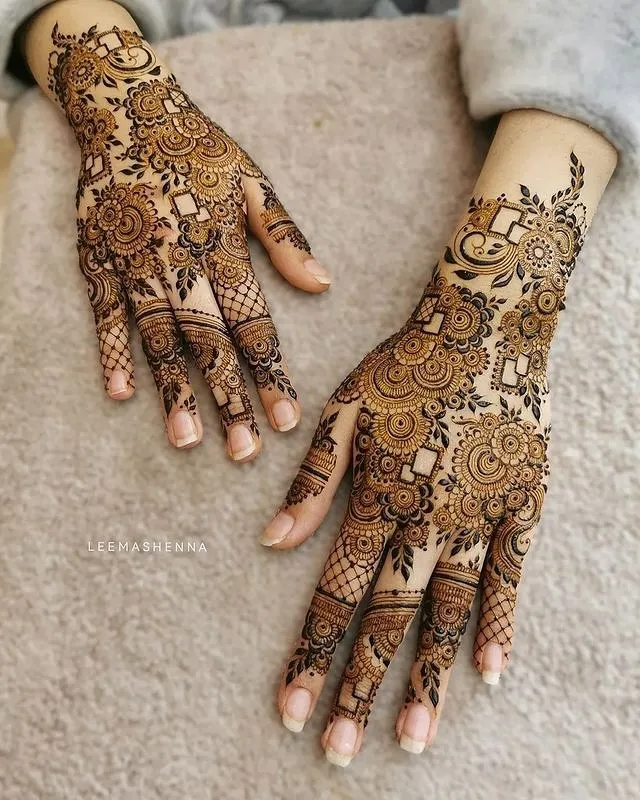
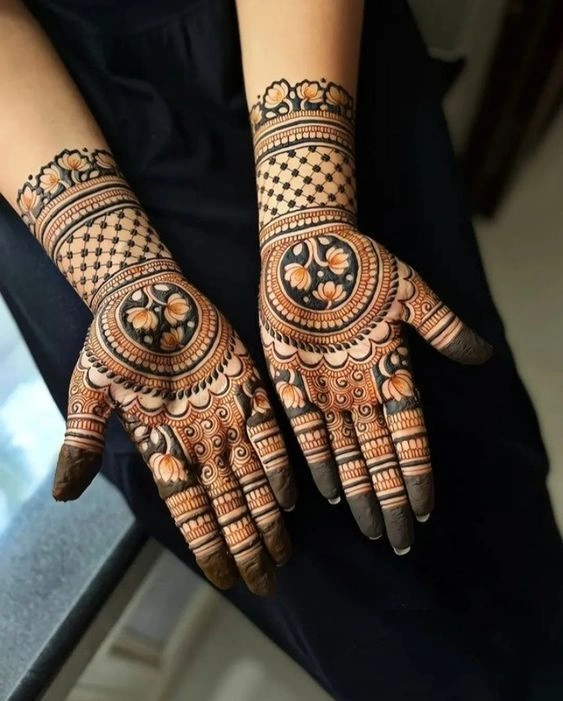
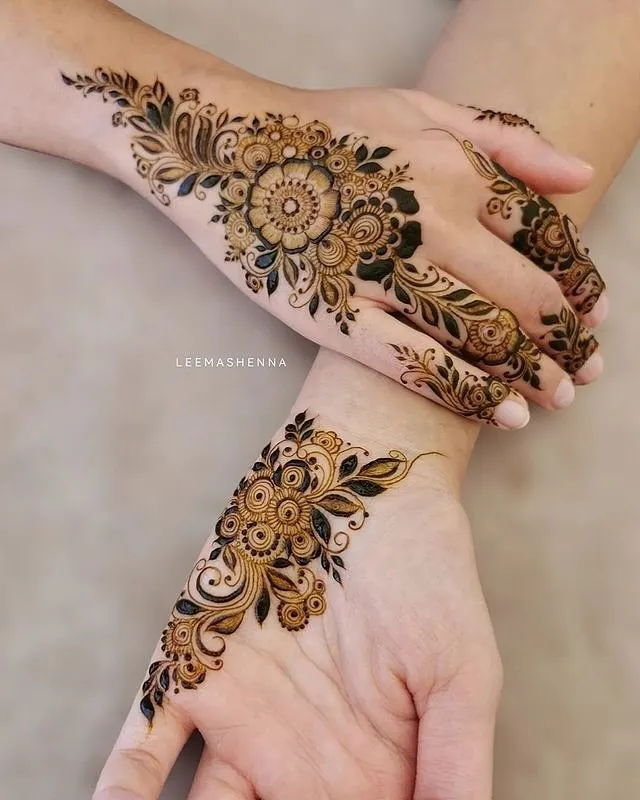
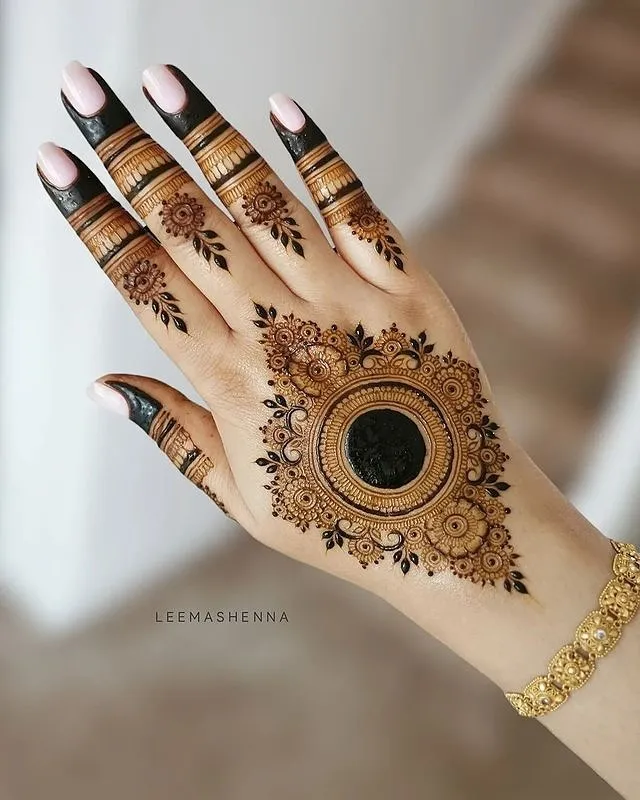
मेहंदी, एक पारंपरिक कला रूप जो हिना से बनाई जाती है, सदियों से विभिन्न संस्कृतियों को आकर्षित करती आई है। इसके जटिल पैटर्न खास मौकों पर हाथों और पैरों को सजाते हैं।
मेहंदी डिज़ाइनों के लिए DIY और क्रिएटिव ट्यूटोरियल आपको इस खूबसूरत कला रूप को अपनी गति से एक्सप्लोर करने की अनुमति देते हैं, चाहे आप शुरुआती हों या अनुभवी कलाकार। विस्तृत, चरण-दर-चरण निर्देशों के माध्यम से, ये ट्यूटोरियल आपको सरल डिज़ाइनों से लेकर अधिक जटिल और मनमोहक कलाकृति तक सब कुछ बनाने में मदद करते हैं।

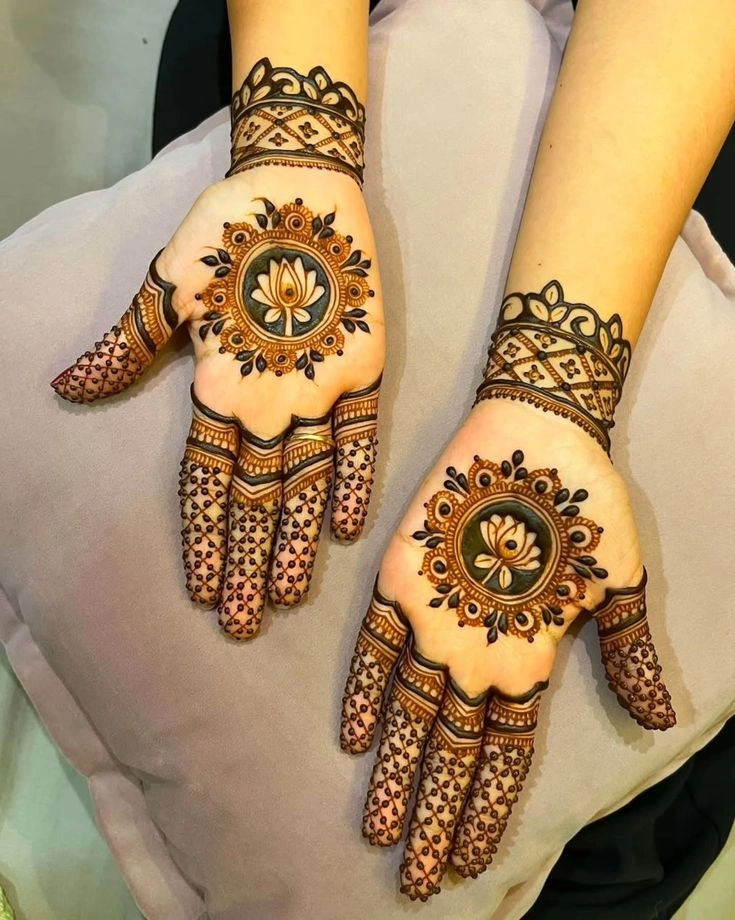
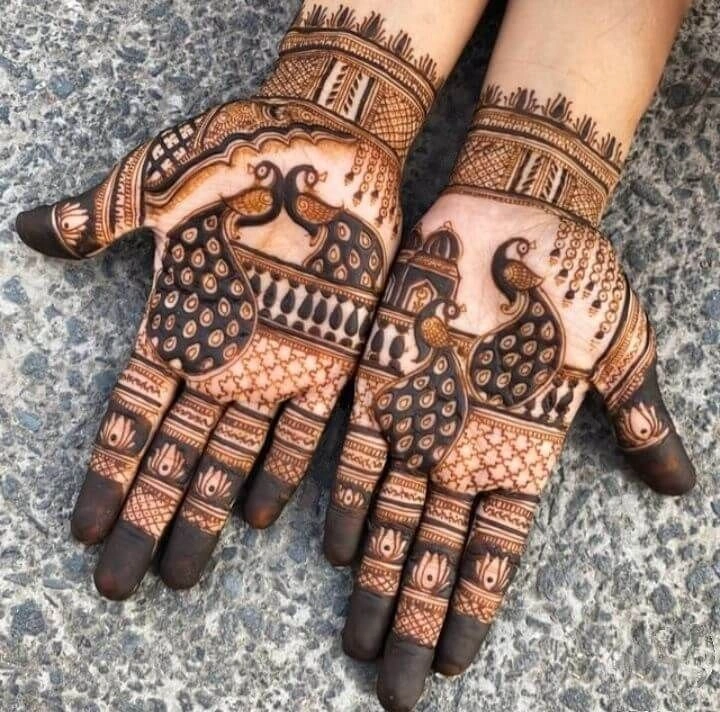
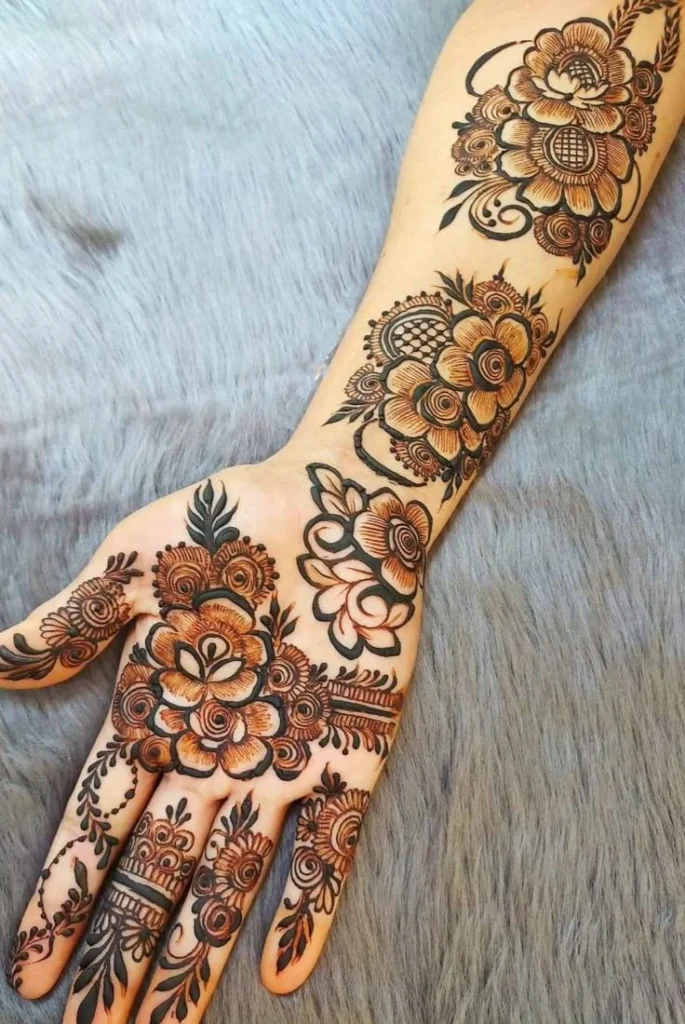
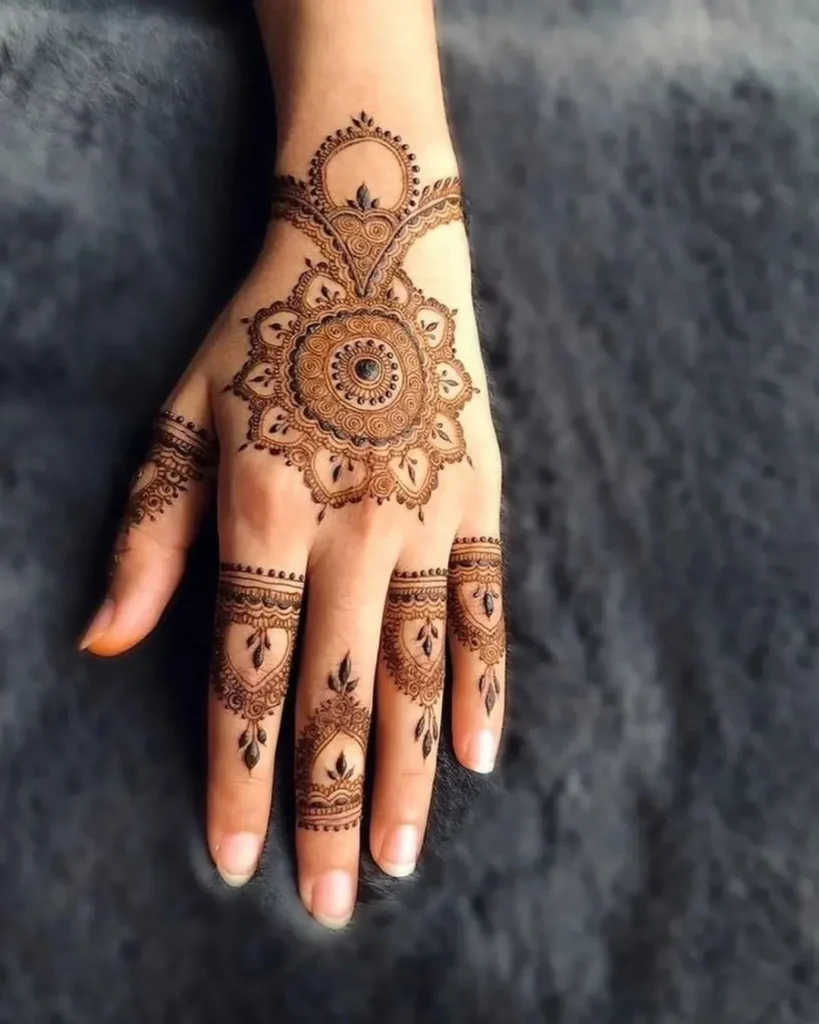
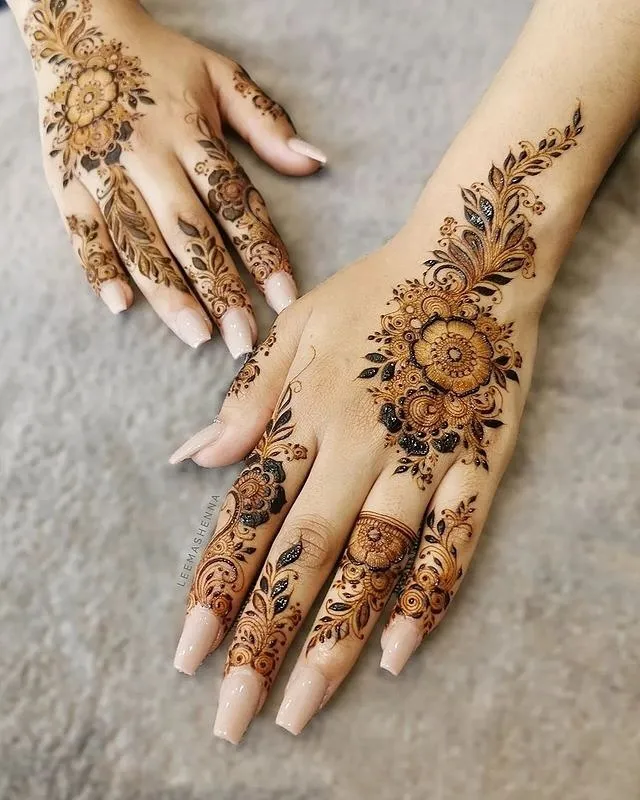
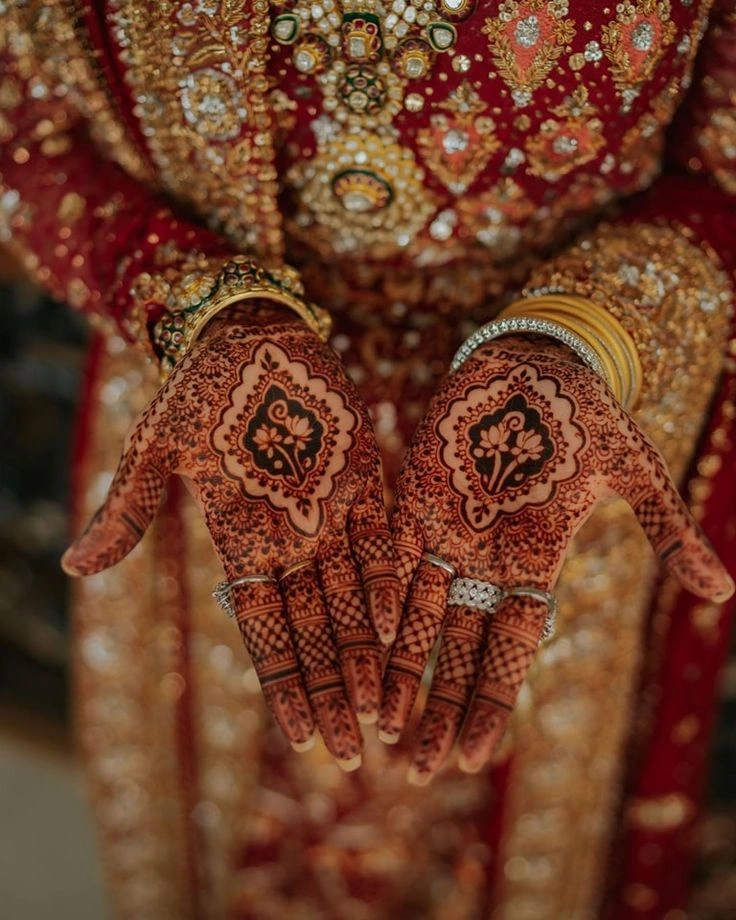
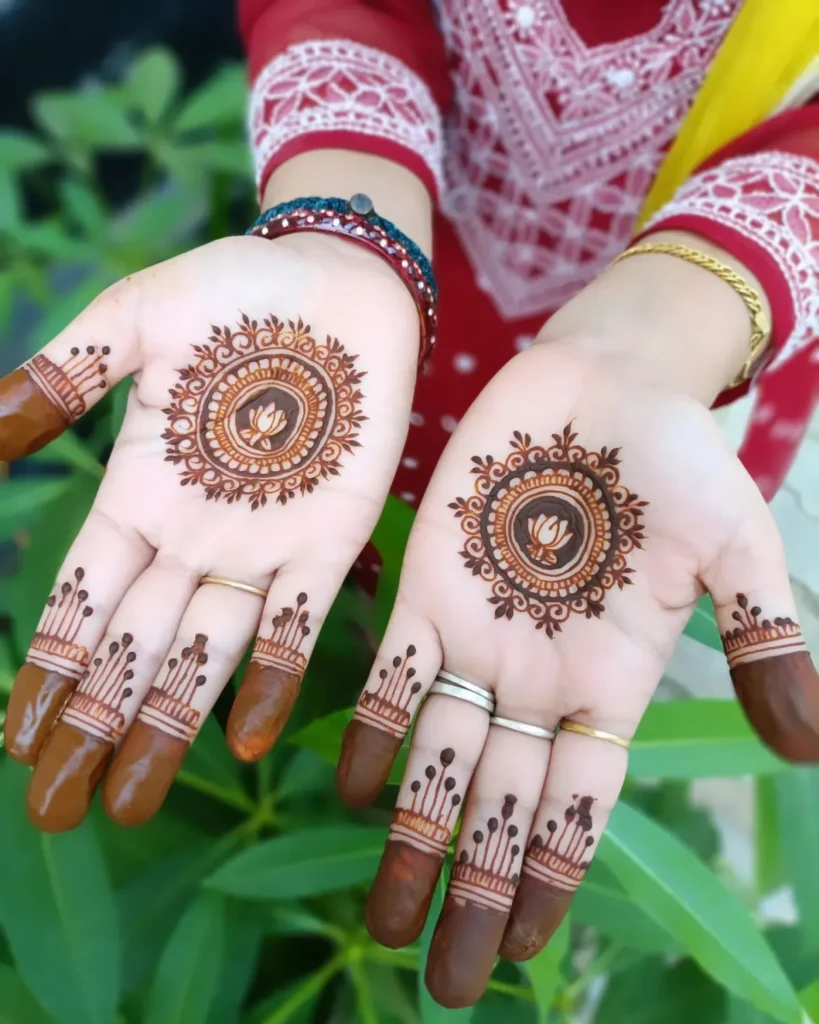
मेहंदी डिज़ाइनों के लिए DIY और क्रिएटिव ट्यूटोरियल के माध्यम से, आप विभिन्न शैलियों जैसे अरबी, भारतीय और मोरक्को प्रेरित पैटर्न को जानेंगे, जो इस प्राचीन कला में हर बार एक अनोखा दृष्टिकोण पेश करते हैं। ये ट्यूटोरियल केवल मेहंदी लगाने की बुनियादी तकनीक ही नहीं सिखाते, बल्कि रचनात्मकता को भी बढ़ावा देते हैं, जिससे आप अलग-अलग आकार, रेखाएं और फिलर्स के साथ प्रयोग कर प्रत्येक डिज़ाइन को अपना बना सकते हैं।
मेहंदी डिज़ाइनों के लिए DIY और क्रिएटिव ट्यूटोरियल की खूबसूरती यह है कि ये आपको बिना किसी पेशेवर मदद के जटिल और व्यक्तिगत डिज़ाइन बनाने का अधिकार देते हैं। आप मेहंदी कोन और स्टेंसिल का उपयोग करने में आत्मविश्वास हासिल करेंगे और परिपूर्ण, चिकनी रेखाएं और बारीक डिटेल बनाने के टिप्स सीखेंगे। सही तकनीकों के साथ, आपके मेहंदी डिज़ाइन बेदाग़ दिखेंगे, चाहे आप शादी की तैयारी कर रहे हों या बस अपनी कला की अभिव्यक्ति करना चाहते हों।

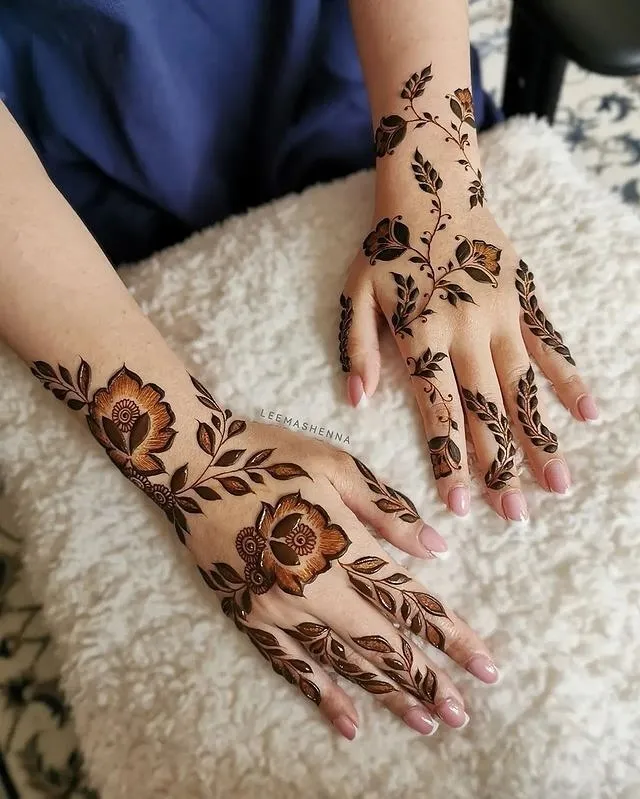
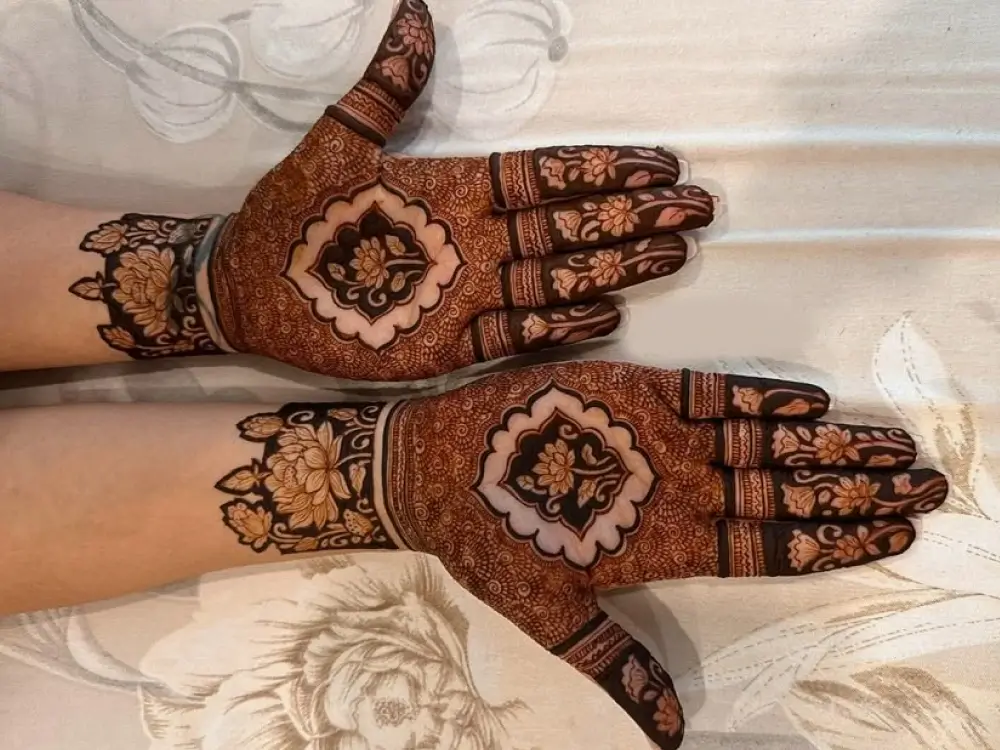
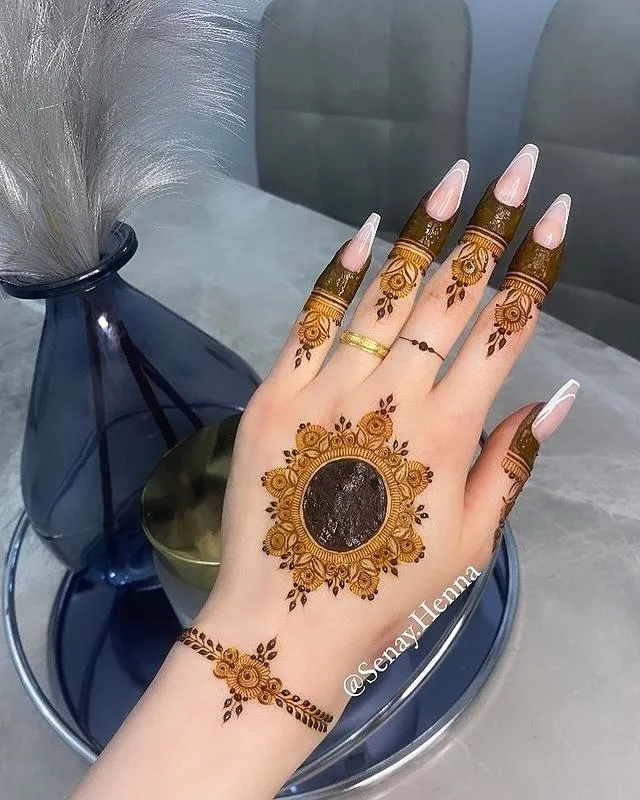
मेहंदी डिज़ाइनों के लिए DIY और क्रिएटिव ट्यूटोरियल में उतरकर, आप पारंपरिक डिज़ाइनों में नवाचारी और आधुनिक ट्विस्ट भी पाएंगे। चाहे आप मिनिमलिस्टिक स्टाइल चाहते हों या बोल्ड, ड्रामाटिक पैटर्न, ये ट्यूटोरियल आपको अपनी रचनाओं को व्यक्तिगत शैली के अनुसार कस्टमाइज़ करने की स्वतंत्रता देते हैं। ट्यूटोरियल का हर चरण यह सुनिश्चित करता है कि आप अपनी मेहंदी कला को अगले स्तर तक ले जा सकें और आपकी रचनात्मकता पूरी तरह से विकसित हो।
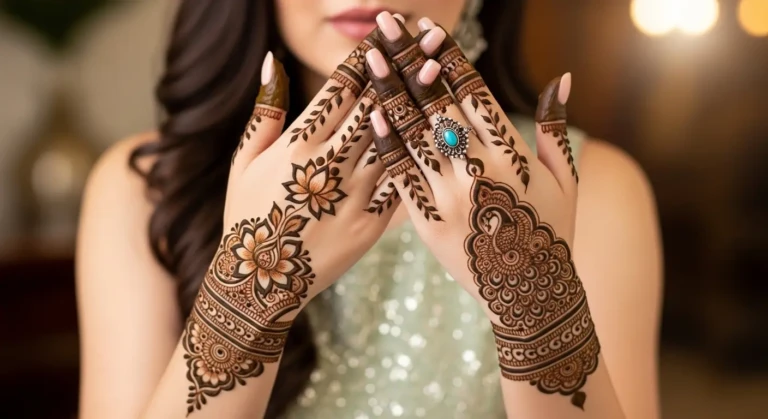
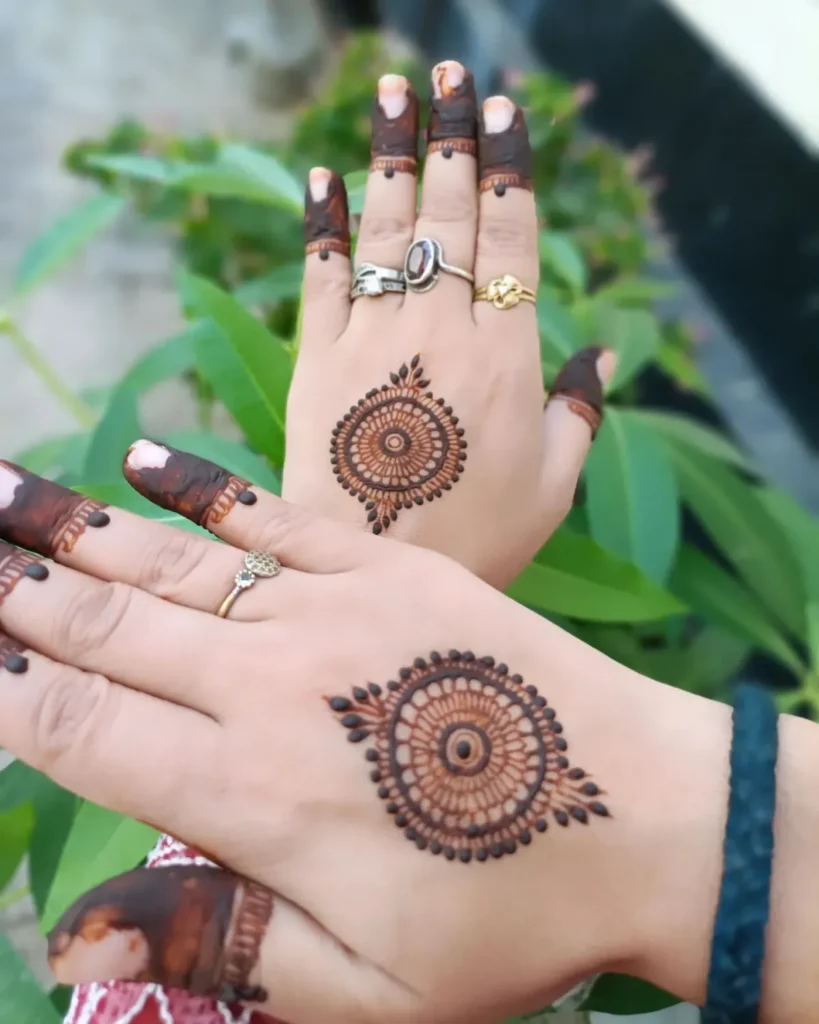
मेहंदी डिज़ाइनों के लिए DIY और क्रिएटिव ट्यूटोरियल को खास बनाने वाली बात उनकी लचीलापन है। कई डिज़ाइनों में से चुनकर, आप आसानी से ट्यूटोरियल को विभिन्न अवसरों या अपने मूड के अनुसार अनुकूलित कर सकते हैं। नाज़ुक फूलों के पैटर्न से लेकर ज्यामितीय डिज़ाइन तक, इन ट्यूटोरियल में हर किसी के लिए कुछ न कुछ है। आप हर प्रकार के जश्न के लिए प्रेरणा पाएंगे, चाहे वह पारंपरिक कार्यक्रम हो या एक साधारण मिलन समारोह।
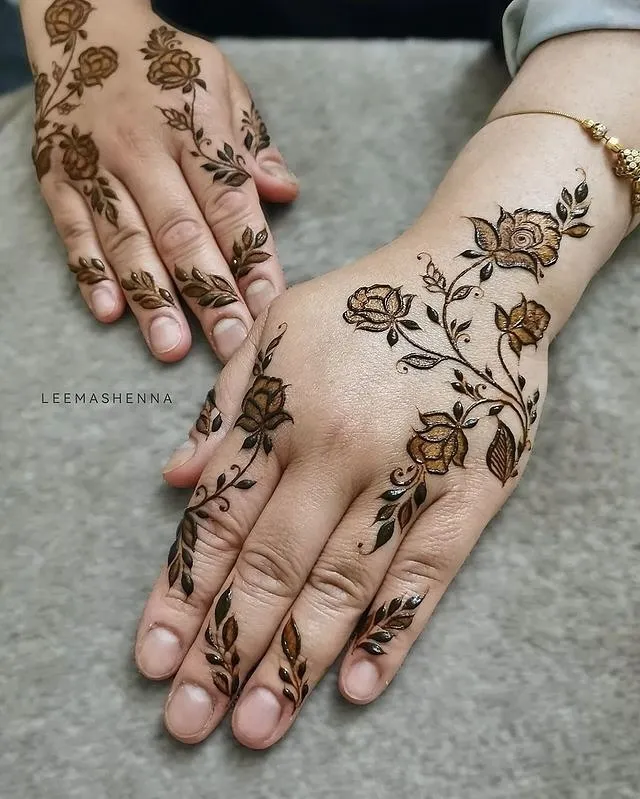
मेहंदी डिज़ाइनों के लिए DIY और क्रिएटिव ट्यूटोरियल केवल कला सीखने के लिए नहीं हैं, बल्कि आपके द्वारा बनाए गए पैटर्न के माध्यम से स्वयं को व्यक्त करने का तरीका भी हैं। प्रत्येक डिज़ाइन में एक कहानी छिपी होती है, और इन ट्यूटोरियल के साथ, आप अपनी कहानी सुंदर और बारीक मेहंदी कलाकृति के माध्यम से बयां कर सकते हैं। चाहे आप किसी विशेष अवसर के लिए डिज़ाइन बना रहे हों या विभिन्न शैलियों के साथ प्रयोग कर रहे हों, ये ट्यूटोरियल हर कदम पर आपका मार्गदर्शन करेंगे।
मेहंदी डिज़ाइनों के लिए DIY और क्रिएटिव ट्यूटोरियल के माध्यम से, आप अपने हाथों को एक कैनवास में बदल सकते हैं और अपनी रचनात्मकता को मंत्रमुग्ध कर देने वाले डिज़ाइनों के माध्यम से प्रदर्शित कर सकते हैं। इन ट्यूटोरियल की खूबसूरती यह है कि इसके लिए महंगे उपकरण या पेशेवर प्रशिक्षण की आवश्यकता नहीं होती। केवल कुछ बुनियादी सामग्री और धैर्य के साथ, आप घर पर ही मनमोहक मेहंदी कला बना सकते हैं और हर पल को अपनी कलात्मक छाप से यादगार बना सकते हैं। तो फिर इंतजार क्यों? आज ही मेहंदी डिज़ाइनों के लिए DIY और क्रिएटिव ट्यूटोरियल के साथ अपनी यात्रा शुरू करें और इस खूबसूरत कला रूप की अनंत संभावनाओं को खोजें!
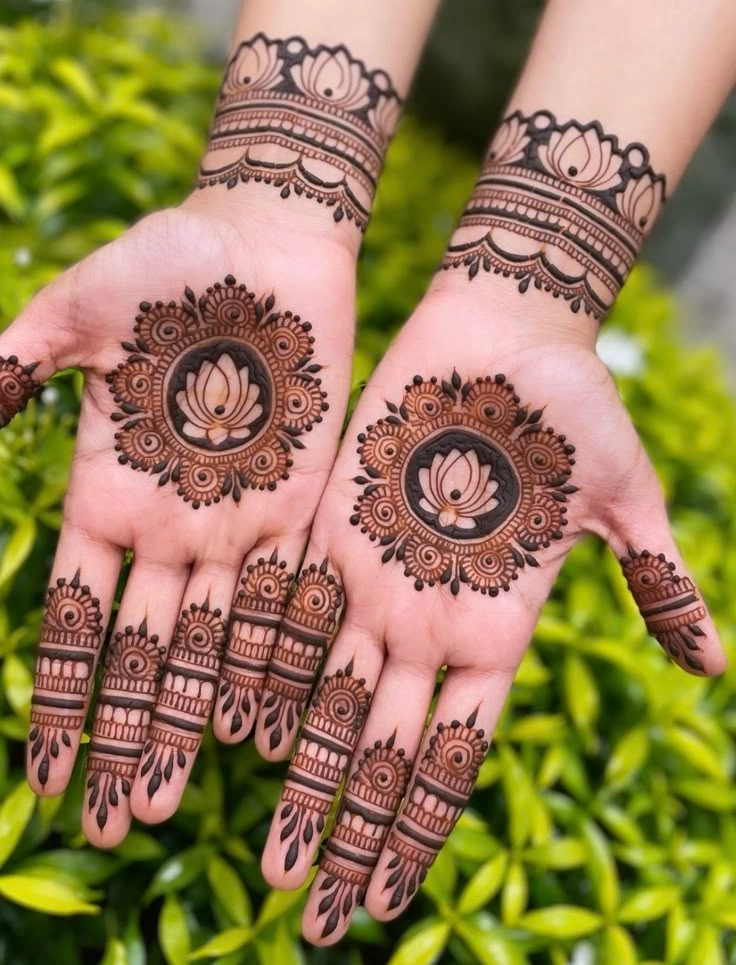
DIY Mehndi Designs for Rakhi in Hindi
राखी, भाई-बहन के बंधन का उत्सव, केवल धागा बाँधने के लिए नहीं है, बल्कि विचारशील भावनाओं के माध्यम से प्यार और देखभाल व्यक्त करने का भी अवसर है। इस जश्न में व्यक्तिगत स्पर्श जोड़ने के सबसे अच्छे तरीकों में से एक है सुंदर मेहंदी डिज़ाइन बनाना। राखी के लिए DIY मेहंदी डिज़ाइन आपको इस विशेष अवसर को मनाते हुए अपनी रचनात्मकता व्यक्त करने की अनुमति देते हैं। चाहे आप शुरुआती हों या अनुभवी कलाकार, ये डिज़ाइन आपको जटिल और व्यक्तिगत पैटर्न बनाने में मदद करेंगे, जो राखी के प्यार और आनंद को दर्शाते हैं।
तो इस राखी, सामान्य बाजार से खरीदे गए उपहारों की बजाय, कुछ अधिक व्यक्तिगत और रचनात्मक क्यों न आज़माएँ? राखी के लिए DIY मेहंदी डिज़ाइन आपके उत्सव में व्यक्तिगत स्पर्श जोड़ने का एक बेहतरीन तरीका है, जो आपकी कलात्मक प्रतिभा और भाई-बहन के बीच के प्यार को प्रदर्शित करता है। आज ही अपनी रचनात्मक यात्रा शुरू करें, और मेहंदी की सुंदरता से अपनी राखी की खुशियों में एक अतिरिक्त स्तर जोड़ें!

घर पर अपनी मेहंदी कोन कैसे बनाएं
घर पर अपनी मेहंदी कोन बनाना एक मजेदार और संतोषजनक अनुभव है। इससे न केवल आप पैसे बचा सकते हैं, बल्कि आपको मेहंदी पेस्ट की गुणवत्ता पर पूरा नियंत्रण भी मिलता है। चाहे आप शुरुआती हों या अनुभवी कलाकार, अपनी मेहंदी कोन बनाने से चिकनी और सटीक एप्लिकेशन सुनिश्चित होती है, जो जटिल और साफ डिज़ाइन बनाने के लिए महत्वपूर्ण है। यहां घर पर अपनी मेहंदी कोन बनाने की एक सरल, चरण-दर-चरण मार्गदर्शिका दी गई है।
आपको क्या-क्या चाहिए होगा
- मेहंदी पाउडर (बेहतरीन परिणाम के लिए उच्च गुणवत्ता वाला पाउडर खरीदें)
- नींबू का रस या पानी (पेस्ट बनाने के लिए)
- चीनी (पेस्ट को त्वचा पर टिकाने में मदद करती है)
- एसेंशियल ऑयल (वैकल्पिक, जैसे यूकेलिप्टस या लैवेंडर)
- प्लास्टिक शीट या पार्चमेंट पेपर (कोन बनाने के लिए)
- कैंची
- सेलोटेप या गोंद (कोन को सुरक्षित करने के लिए)
- सुई या पिन (कोन की टिप बनाने के लिए)
- प्लास्टिक बैग या डिस्पोज़ेबल दस्ताने (अपने हाथों की सुरक्षा के लिए)
चरण 1: मेहंदी पेस्ट तैयार करना
शुरुआत करने के लिए, अपनी मेहंदी पाउडर को नींबू के रस या पानी के साथ मिलाएं। मेहंदी पाउडर को एक छोटे बाउल में डालें। धीरे-धीरे तरल पदार्थ डालते हुए लगातार हिलाते रहें जब तक कि आपको गाढ़ा और चिकना पेस्ट न मिल जाए। इसका गाढ़ापन सही होना चाहिए — न बहुत पतला और न ही बहुत सख्त।
मिश्रण में एक चम्मच चीनी डालें; यह पेस्ट को आपकी त्वचा पर लंबे समय तक टिकने में मदद करता है। आप कुछ बूंदें एसेंशियल ऑयल की भी डाल सकते हैं, जिससे सुगंध बढ़ती है और पेस्ट की गुणवत्ता बेहतर होती है। पेस्ट को अच्छी तरह मिलाएं जब तक कि यह पूरी तरह से चिकना न हो जाए।
चरण 2: कोन का आकार तैयार करें
अपनी मेहंदी कोन बनाने के लिए, आप प्लास्टिक शीट या पार्चमेंट पेपर का उपयोग कर सकते हैं। शीट से एक छोटा वर्ग या त्रिभुज काटें। किनारों को एक साथ लाकर इसे कोन के आकार में रोल करना शुरू करें ताकि एक नुकीली टिप बन जाए। सुनिश्चित करें कि कोन का आधार इतना चौड़ा हो कि उसमें मेहंदी पेस्ट आसानी से रखा जा सके।
एक बार जब आपने कागज़ को कोन के आकार में रोल कर लिया, तो किनारों को टेप या गोंद से सुरक्षित करें। यह सुनिश्चित करना महत्वपूर्ण है कि कोन की टिप बारीक और तेज़ हो, ताकि आप बारीक और विस्तृत डिज़ाइन बना सकें।
चरण 3: कोन भरना
अब, अपनी ताज़ा तैयार की हुई मेहंदी पेस्ट लेकर कोन को भरें। आप इसे सीधे कोन में चम्मच की मदद से डाल सकते हैं या पेस्ट को एक छोटे प्लास्टिक बैग में रखकर कोने का एक छोटा हिस्सा काटकर कोन में निचोड़ सकते हैं। सुनिश्चित करें कि कोन पूरी तरह भरा हुआ हो और बहुत अधिक हवा का स्थान न हो, क्योंकि इससे मेहंदी लगाने के दौरान पेस्ट का प्रवाह चिकना और आसान रहेगा।
चरण 4: कोन को सील करना
कोन भरने के बाद, ऊपर के हिस्से को कसकर मोड़ें ताकि पेस्ट अंदर सुरक्षित रहे। मोड़ को स्थिर रखने के लिए आप एक छोटा टेप का टुकड़ा भी लगा सकते हैं। सुनिश्चित करें कि पेस्ट अच्छी तरह भरा हुआ हो और कोन की टिप बंद न हो।
चरण 5: टिप बनाना
सुई या पिन का उपयोग करके, कोन की टिप पर सावधानीपूर्वक एक छोटा सा छेद करें। इससे मेहंदी पेस्ट आसानी से और चिकनी तरह से बह सकेगा। ध्यान रखें, क्योंकि बड़ा छेद मोटी रेखाओं के लिए होगा, जबकि छोटा छेद बारीक और विस्तृत डिज़ाइन बनाने के लिए आदर्श है।
चरण 6: कोन का परीक्षण करना
मेहंदी लगाने से पहले, कोन को एक कागज़ या अपनी त्वचा पर टेस्ट करें ताकि यह सुनिश्चित हो सके कि पेस्ट आसानी से बह रहा है। आवश्यक होने पर छेद के आकार को समायोजित करें। अगर पेस्ट बहुत गाढ़ा है, तो इसे थोड़ा और नींबू का रस या पानी डालकर पतला किया जा सकता है।
चरण 7: कोन का उपयोग करना
अब जब आपकी मेहंदी कोन तैयार है, तो आप इसे अपने डिज़ाइनों के लिए इस्तेमाल करना शुरू कर सकते हैं। कोन को 45 डिग्री के कोण पर पकड़ें और धीरे-धीरे पेस्ट को निचोड़ें, पहले बुनियादी आकृतियों से शुरू करें और फिर जटिल पैटर्न की ओर बढ़ें। चिकनी रेखाओं के लिए सही दबाव और प्रवाह प्राप्त करने के लिए कुछ बार अभ्यास करना सुनिश्चित करें।
सफलता के लिए टिप्स
- संग्रहण: अगर आप मेहंदी कोन तुरंत उपयोग नहीं कर रहे हैं, तो इसे प्लास्टिक बैग में लपेटें और पेस्ट को ताज़ा रखने के लिए फ्रिज में रखें।
- अभ्यास: हाथों पर मेहंदी लगाने से पहले, प्रवाह को नियंत्रित करने और तकनीक को सुधारने के लिए कागज़ पर अभ्यास करें।
- उच्च गुणवत्ता वाली सामग्री: सर्वोत्तम रंग और परिणाम के लिए हमेशा उच्च गुणवत्ता वाला मेहंदी पाउडर इस्तेमाल करें।
अपनी मेहंदी कोन खुद बनाना मेहंदी लगाने के अनुभव को बढ़ाने का एक किफायती और रचनात्मक तरीका है। केवल कुछ साधारण सामग्री के साथ, आप घर पर ही पेशेवर जैसे डिज़ाइन बना सकते हैं!
रक्षा बंधन मेहंदी ट्यूटोरियल शुरुआती के लिए
रक्षा बंधन मेहंदी ट्यूटोरियल शुरुआती के लिए: चरण-दर-चरण मार्गदर्शिका
रक्षा बंधन एक विशेष त्योहार है जो भाई-बहन के बंधन का उत्सव मनाता है। इस दिन अपने प्यार और रचनात्मकता को व्यक्त करने का सबसे सुंदर तरीका है जटिल मेहंदी डिज़ाइन बनाना। यदि आप शुरुआती हैं और एक शानदार रक्षा बंधन मेहंदी डिज़ाइन बनाना चाहते हैं, तो यह ट्यूटोरियल आपको चरण-दर-चरण मार्गदर्शन देगा, जिससे आप अपने हाथों पर सुंदर और बारीक पैटर्न तैयार कर सकेंगे।
ज़रूरी सामान
- मेहंदी पेस्ट (आप तैयार पेस्ट खरीद सकते हैं या खुद बना सकते हैं)
- मेहंदी कोन (सटीक डिज़ाइन बनाने के लिए)
- कॉटन स्वैब या टिश्यू (गलतियां साफ करने के लिए)
- सुई या पिन (बारीक रेखाएं बनाने के लिए)
- प्लास्टिक शीट (डिज़ाइन लगाने से पहले अभ्यास करने के लिए)
- नींबू का रस और चीनी (पेस्ट को त्वचा पर लंबे समय तक टिकाने के लिए)
चरण 1: मेहंदी पेस्ट तैयार करना
इस ट्यूटोरियल के लिए, ताज़ा और उच्च-गुणवत्ता वाला मेहंदी पेस्ट इस्तेमाल करना सबसे अच्छा होगा। आप इसे बाज़ार से खरीद सकते हैं या घर पर मेहंदी पाउडर को पानी या नींबू के रस के साथ मिलाकर चिकना और गाढ़ा पेस्ट बना सकते हैं। पेस्ट में एक चम्मच चीनी मिलाने से यह त्वचा पर लंबे समय तक टिका रहेगा।
अगर आप मेहंदी कोन का इस्तेमाल कर रहे हैं, तो सुनिश्चित करें कि वह पेस्ट से अच्छे से भरा हुआ हो। आप कोन की नोक पर बने छेद का आकार बदलकर पेस्ट के बहाव को नियंत्रित भी कर सकते हैं।
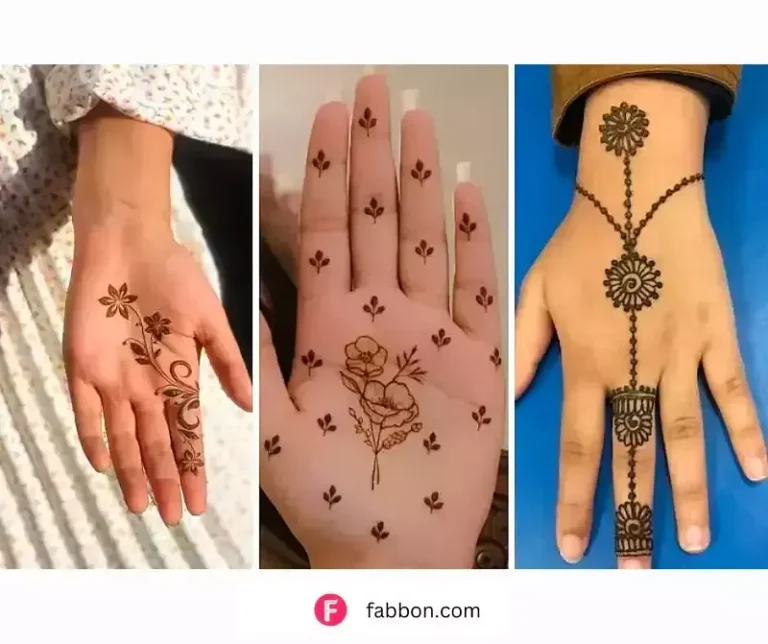
चरण 2: सरल पैटर्न से शुरुआत करें
Aएक शुरुआती के रूप में, आत्मविश्वास बढ़ाने के लिए सरल और बुनियादी पैटर्न से शुरुआत करना महत्वपूर्ण है। शुरुआत में इन बुनियादी आकृतियों का अभ्यास करें:
- गोले: छोटे-छोटे गोले पास-पास बनाएं, जो आपके डिज़ाइन का आधार बनेंगे।
- रेखाएं: आकृतियों और डिज़ाइन को रूप देने के लिए सीधी या घुमावदार रेखाओं का इस्तेमाल करें।
रक्षा बंधन के लिए, आप एक केंद्रीय डिज़ाइन जैसे फूल का मोटिफ़ या दिल का आकार बनाकर शुरुआत कर सकते हैं, क्योंकि ये सरल होने के साथ-साथ इस अवसर के लिए अर्थपूर्ण भी हैं।
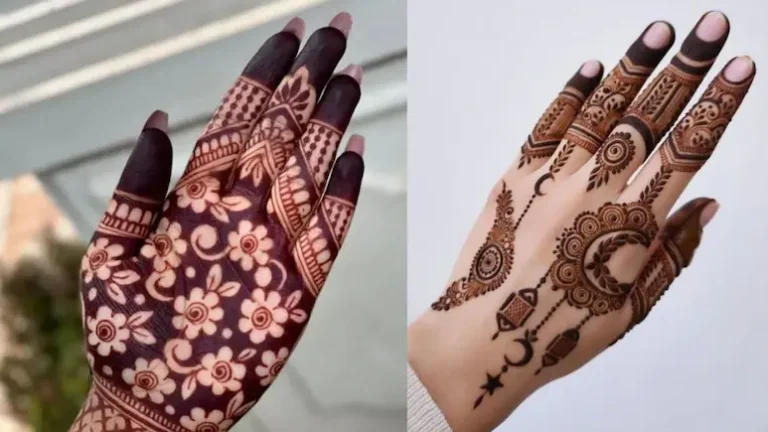
चरण 3: डिज़ाइन में डिटेल जोड़ें
Oncजब आप बुनियादी आकृतियों में सहज हो जाएं, तो केंद्रीय डिज़ाइन के आसपास और बारीक डिटेल्स जोड़ना शुरू करें। आप यह निम्न तरीकों से कर सकते हैं:
- पत्तियां और लताएं: केंद्रीय मोटिफ़ के आसपास बहती हुई पत्तियां या लताएं बनाएं, जिससे डिज़ाइन और भी विस्तृत और आकर्षक दिखे।
- बिंदु और स्ट्रोक: गोल आकृतियों या रेखाओं के भीतर छोटे-छोटे बिंदु या स्ट्रोक जोड़ें, ताकि डिज़ाइन में टेक्सचर आ सके।
रक्षा बंधन के लिए, आप अपने डिज़ाइन में राखी की डोरी या सुरक्षा के प्रतीकों जैसे मोटिफ़ भी बना सकते हैं, जिससे यह अवसर के लिए और भी खास बन जाएगा।
Step 4: Incorporate Traditional Elements
चूंकि यह रक्षा बंधन का डिज़ाइन है, इसलिए इसमें ऐसे प्रतीक जोड़ने पर विचार करें जो इस त्योहार का प्रतिनिधित्व करते हों। कुछ आइडिया इस प्रकार हैं:
- राखी मोटिफ़: डिज़ाइन के आसपास छोटे-छोटे राखी के प्रतीक बनाएं। आप एक पतली डोरी बना सकते हैं या मोती व फूलों के मोटिफ़ जोड़ सकते हैं, जो राखी के बंधन का प्रतीक हों।
- दिल या सितारे: ये भाई-बहन के बीच के प्यार और सुरक्षा का प्रतीक हो सकते हैं।
- ज्यामितीय पैटर्न: ये डिज़ाइन में संरचना और सुंदरता जोड़ सकते हैं, जिससे यह और भी आकर्षक लगे।
चरण 5: खाली जगह भरें
जब आपका केंद्रीय डिज़ाइन और बारीक तत्व तैयार हो जाएं, तो खाली जगहों को छोटे-छोटे पैटर्न से भर दें। इसमें छोटे फूल, पेसली डिज़ाइन या फिर साधारण बिंदु हो सकते हैं, जो डिज़ाइन को और भरापूरा बना देंगे।

चरण 6: इसे सूखने दें
मेहंदी लगाने के बाद, इसे कम से कम 30 मिनट से एक घंटे तक सूखने दें। डिज़ाइन पूरी तरह सूखने तक उसे छूने से बचें, ताकि वह धुंधला न हो।
चरण 7: मेहंदी हटाएं
पेस्ट सूखने के बाद, इसे धीरे-धीरे किसी कुंद चाकू या अपनी उंगलियों की मदद से खुरचकर हटा दें। जैसे-जैसे रंग आपकी त्वचा पर सेट होता जाएगा, यह गहरा होता जाएगा।
गहरा और समृद्ध रंग पाने के लिए, आप डिज़ाइन पर नींबू का रस और चीनी का मिश्रण हल्के से लगा सकते हैं। इससे रंग अच्छे से सेट होगा और अधिक गहरा पड़ेगा, जिससे डिज़ाइन और भी उभरकर दिखाई देगा।
चरण 8: अंतिम सजावट
जब मेहंदी पूरी तरह सूख जाए और पेस्ट हटा दिया जाए, तो आप अपने डिज़ाइन को अंतिम रूप दे सकते हैं। साफ़ रेखाएं सुनिश्चित करने के लिए बारीक नोक वाले कोन से ज़रूरी टच-अप करें।
शुरुआती लोगों के लिए सुझाव
- पहले अभ्यास करें: हाथों पर मेहंदी लगाने से पहले, डिज़ाइन का अभ्यास कागज़ या प्लास्टिक शीट पर करें।
- स्टेंसिल का उपयोग करें: यदि आपको फ्रीहैंड डिज़ाइन बनाने में कठिनाई होती है, तो परफ़ेक्ट आकार के लिए मेहंदी स्टेंसिल का इस्तेमाल करें।
- धीरे शुरू करें: समय लें और डिज़ाइन बनाने में जल्दबाज़ी न करें। सरल पैटर्न से शुरुआत करें और जैसे-जैसे सहज हों, अधिक बारीक पैटर्न बनाएं।
- त्वचा को मॉइस्चराइज़ करें: पेस्ट लगाने से पहले सुनिश्चित करें कि आपके हाथ साफ़ हों और उन पर तेल न हो, ताकि रंग गहरा और सुंदर आए।.
अनोखी मेहंदी कला के लिए टूथपिक का उपयोग कैसे करें
अनोखी मेहंदी कला के लिए टूथपिक का उपयोग: चरण-दर-चरण मार्गदर्शिका
टूथपिक एक सरल लेकिन प्रभावी उपकरण है, जो जटिल और अनोखे मेहंदी डिज़ाइन बनाने में मदद करता है। यदि आप अपनी मेहंदी कला को अगले स्तर पर ले जाना चाहते हैं और बारीक डिटेल्स व पतली रेखाएं जोड़ने के नए तरीकों को तलाशना चाहते हैं, तो टूथपिक का इस्तेमाल बड़ा फर्क ला सकता है। सिर्फ कुछ टूथपिक और थोड़ी-सी रचनात्मकता के साथ, आप ऐसे खूबसूरत मेहंदी डिज़ाइन बना सकते हैं जिन्हें देखकर हर कोई मंत्रमुग्ध हो जाएगा। यहां टूथपिक का इस्तेमाल करके अनोखी मेहंदी कला बनाने की चरण-दर-चरण गाइड दी गई है।
आपको क्या-क्या चाहिए होगा
- मेहंदी पेस्ट (बाज़ार से खरीदी हुई या घर पर बनी)
- मेहंदी कोन (पेस्ट लगाने के लिए)
- टूथपिक (संभव हो तो नुकीले और चपटे दोनों सिरे वाले)
- कॉटन स्वैब या टिश्यू (सफाई के लिए)
- प्लास्टिक शीट या पार्चमेंट पेपर (अभ्यास के लिए)
- नींबू का रस और चीनी का मिश्रण (वैकल्पिक, डिज़ाइन का रंग गहरा करने के लिए)
चरण 1: अपनी मेहंदी पेस्ट तैयार करें
टूथपिक से अनोखे डिज़ाइन बनाना शुरू करने से पहले, आपको अपनी मेहंदी पेस्ट तैयार करनी होगी। आप चाहें तो तैयार मेहंदी कोन का उपयोग कर सकते हैं या फिर उच्च-गुणवत्ता वाले मेहंदी पाउडर, पानी या नींबू का रस, और एक चम्मच चीनी मिलाकर अपना पेस्ट तैयार कर सकते हैं। पेस्ट की गाढ़ापन और मुलायम बनावट ऐसी होनी चाहिए जो बारीक डिटेलिंग के लिए बिल्कुल उपयुक्त हो।
चरण 2: अपने डिज़ाइनों का अभ्यास करें
यदि आप मेहंदी कला में टूथपिक का इस्तेमाल करने में नए हैं, तो डिज़ाइन को त्वचा पर लगाने से पहले पार्चमेंट पेपर या प्लास्टिक शीट पर अभ्यास करना अच्छा रहेगा। टूथपिक का उपयोग करके अलग-अलग रेखाओं, बिंदुओं और आकृतियों के साथ प्रयोग करें। पेस्ट के साथ टूथपिक कैसे काम करता है, यह समझने के लिए घुमावदार आकृतियां, छोटे फूलों के डिज़ाइन या नाज़ुक पेसली पैटर्न बनाने की कोशिश करें।
चरण 3: मेहंदी पेस्ट लगाना
जब आप टूथपिक के साथ सहज हो जाएं, तो आप अपनी त्वचा पर मेहंदी पेस्ट लगाना शुरू कर सकते हैं। जिस जगह आप डिज़ाइन बनाना चाहते हैं, वहाँ अपने हाथ या कलाई पर थोड़ी-सी मेहंदी पेस्ट निचोड़कर लगाएं। आप बुनियादी आकृतियां और आउटलाइन बनाने के लिए मेहंदी कोन का उपयोग कर सकते हैं, या फिर अधिक बारीक काम के लिए सीधे टूथपिक का इस्तेमाल कर सकते हैं।
चरण 4: बारीक रेखाएं और बिंदु बनाना
टूथपिक बारीक रेखाएं और छोटे, जटिल बिंदु बनाने के लिए बिल्कुल सही होती है। इसे इस्तेमाल करने का तरीका इस प्रकार है:
बारीक रेखाएं: टूथपिक के नुकीले सिरे को मेहंदी पेस्ट में डुबोएं और धीरे-धीरे अपनी त्वचा पर खींचें, ताकि पतली और सटीक रेखाएं बन सकें। इन रेखाओं का इस्तेमाल आप बॉर्डर बनाने, पैटर्न बनाने या बड़े डिज़ाइनों के बीच की जगह भरने के लिए कर सकते हैं।
बिंदु: समान आकार के बिंदु बनाने के लिए टूथपिक बेहतरीन है। बस टूथपिक के नुकीले सिरे को पेस्ट में डुबोएं, फिर हल्के से अपनी त्वचा पर टैप करें, जिससे छोटे और समान बिंदु बनेंगे। इनका उपयोग आप फूल की पंखुड़ियों, गोल आकृतियों या किसी भी जगह पर टेक्सचर जोड़ने के लिए कर सकते हैं।
चरण 5: बारीक पैटर्न जोड़ना
अपने डिज़ाइनों को और भी अनोखा बनाने के लिए, टूथपिक का इस्तेमाल करके मुख्य डिज़ाइन के अंदर छोटे पत्ते, ज्यामितीय पैटर्न या नाज़ुक घुमाव जैसी बारीक डिटेल्स जोड़ें। उदाहरण के लिए, आप बड़े पंखुड़ियों वाला फूल बना सकते हैं और फिर पंखुड़ियों के अंदर पतली रेखाएं खींचने के लिए टूथपिक का उपयोग कर सकते हैं, जिससे डिज़ाइन में टेक्सचर और गहराई आ जाए।
स्पाइरल (घुमाव): टूथपिक के नुकीले सिरे को हल्के-हल्के गोल घुमाकर छोटे-छोटे स्पाइरल आकार बनाएं। इन स्पाइरल्स का उपयोग फूलों या बड़े पैटर्न में बारीक डिटेल जोड़ने के लिए किया जा सकता है।
लताएं और डंठल: टूथपिक के चपटे सिरे का उपयोग करके धीरे-धीरे ऐसी रेखाएं खींचें जो लताएं, डंठल या शाखाओं जैसी लगें। यह फूलों के डिज़ाइन के आसपास हल्की-फुल्की डिटेल जोड़ने या पैटर्न को बढ़ाने का बेहतरीन तरीका है।
चरण 6: गलतियों की सफ़ाई
अगर आपसे कोई गलती या धुंधलापन हो जाए, तो चिंता न करें। आप उसे आसानी से कॉटन स्वैब या टिश्यू से साफ कर सकते हैं, बस ध्यान रखें कि बाकी डिज़ाइन को बिना छेड़े उस जगह को हल्के से दबाकर साफ करें। यह काम मेहंदी पेस्ट के पूरी तरह सूखने से पहले करना ज़रूरी है।
चरण 7: मेहंदी को सूखने दें
जब आप अपना डिज़ाइन पूरा कर लें, तो मेहंदी पेस्ट को लगभग 30 से 60 मिनट तक सूखने दें। सूखते समय डिज़ाइन को न छुएं ताकि वह धुंधला न हो। सूखने के बाद, पेस्ट को अपनी उंगलियों या किसी कुंद (नुकीला न हो) उपकरण से धीरे-धीरे खुरचकर हटा दें। शुरू में आपका डिज़ाइन हल्का दिखाई देगा, लेकिन समय के साथ यह गहरा हो जाएगा और एक सुंदर, बारीक मेहंदी कला उभरकर सामने आएगी।
चरण 8: डिज़ाइन को निखारें
अपने डिज़ाइन को लंबे समय तक टिकाने और रंग को गहरा करने के लिए, आप सूखी हुई मेहंदी डिज़ाइन पर नींबू का रस और चीनी का मिश्रण लगा सकते हैं। इससे पेस्ट सेट हो जाएगा और दाग का रंग गहरा हो जाएगा, जिससे आपकी कला और भी निखरकर सामने आएगी।
मेहंदी डिज़ाइन के लिए DIY और क्रिएटिव ट्यूटोरियल आपको परंपरा को अपनाते हुए अपनी रचनात्मकता व्यक्त करने के असीमित अवसर प्रदान करते हैं। इन ट्यूटोरियल के ज़रिए आप जटिल और सुंदर मेहंदी डिज़ाइन बनाना सीख सकते हैं — चाहे आप एकदम नए हों या एक अनुभवी कलाकार जो अपने कौशल को और निखारना चाहता हो। मेहंदी डिज़ाइन के लिए DIY और क्रिएटिव ट्यूटोरियल आपको विभिन्न शैलियों और तकनीकों को खोजने की शक्ति देते हैं, जिससे आप हर मौके के लिए मनमोहक पैटर्न तैयार कर सकते हैं।
इन ट्यूटोरियल के माध्यम से, आपने सीखा कि कैसे साधारण पैटर्न से शुरुआत कर धीरे-धीरे जटिल डिज़ाइनों तक पहुँचा जा सकता है, वह भी सरल उपकरण और तकनीकों का उपयोग करके। ये ट्यूटोरियल आपको मेहंदी कौशल विकसित करने के लिए एक मजबूत आधार प्रदान करते हैं — जैसे मेहंदी कोन का सही उपयोग करना, टूथपिक या स्टेंसिल के माध्यम से बारीक डिटेल्स लगाना इत्यादि।
मेहंदी डिज़ाइन के लिए DIY और क्रिएटिव ट्यूटोरियल आपकी मेहंदी कला को व्यक्तिगत बनाने और हर डिज़ाइन को अनोखा बनाने का एक बेहतरीन तरीका हैं। आप अलग-अलग डिज़ाइन, थीम और प्रतीकों के साथ प्रयोग कर सकते हैं ताकि कुछ ऐसा बना सकें जो आपके व्यक्तिगत अंदाज़ को दर्शाए — चाहे वह रोज़मर्रा के लिए मिनिमलिस्टिक लुक हो या फिर ख़ास मौकों के लिए बारीक और जटिल डिज़ाइन। मेहंदी डिज़ाइन के लिए DIY और क्रिएटिव ट्यूटोरियल सिर्फ़ कला में महारत हासिल करने के बारे में नहीं हैं, बल्कि यह उस सांस्कृतिक परंपरा से जुड़ने का माध्यम भी हैं जो पीढ़ियों से चली आ रही है।
जैसे-जैसे आप इन ट्यूटोरियल के माध्यम से मेहंदी की दुनिया में गहराई से उतरेंगे, आपका आत्मविश्वास और कौशल बढ़ेगा, और अंततः आप ऐसे डिज़ाइन तैयार करेंगे जिन्हें देखकर हर कोई आपकी कला की प्रशंसा करेगा। मेहंदी डिज़ाइन के लिए DIY और क्रिएटिव ट्यूटोरियल आपको अलग-अलग पैटर्न खोजने और नई तकनीकों के साथ प्रयोग करने की आज़ादी देते हैं, जिससे आपका हर डिज़ाइन अनोखा और अर्थपूर्ण बनता है।
आख़िरकार, मेहंदी डिज़ाइन के लिए DIY और क्रिएटिव ट्यूटोरियल सिर्फ़ आपकी त्वचा को सजाने तक सीमित नहीं हैं; ये रचनात्मकता, संस्कृति और व्यक्तिगत अभिव्यक्ति का उत्सव मनाने का एक माध्यम हैं। हर ट्यूटोरियल के साथ आपको अपनी तकनीक को निखारने, नई चीज़ें आज़माने और ऐसी मेहंदी कला बनाने का अवसर मिलता है, जो आपके व्यक्तिगत अंदाज़ को दर्शाती है। मेहंदी कला की दुनिया बहुत विशाल है, और DIY एवं क्रिएटिव ट्यूटोरियल आपके रचनात्मक सफ़र की शुरुआत करने का सबसे बेहतरीन तरीका हैं।
इसलिए, चाहे आप किसी त्योहार की तैयारी कर रहे हों, किसी ख़ास उत्सव के लिए या बस अपनी रोज़मर्रा की ज़िंदगी में ख़ूबसूरती का एक स्पर्श जोड़ना चाहते हों — मेहंदी डिज़ाइन के लिए DIY और क्रिएटिव ट्यूटोरियल आपके लिए एक संपूर्ण मार्गदर्शिका हैं। इन ट्यूटोरियल के साथ, आप मेहंदी की दुनिया में अपना सफ़र शुरू कर सकते हैं और अनगिनत तरीकों से अपनी ख़ुद की अनोखी और मनमोहक डिज़ाइन बना सकते हैं।